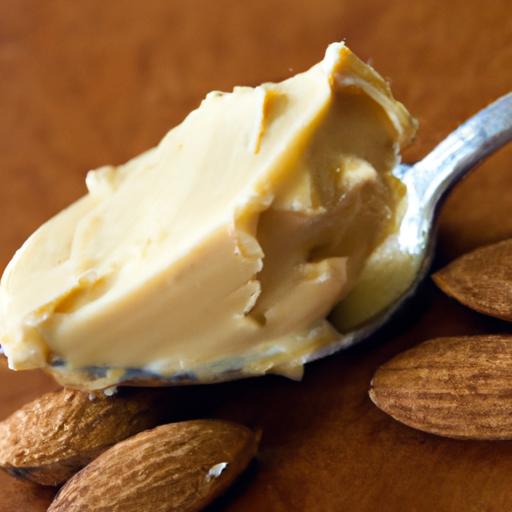
There’s something deeply satisfying about homemade almond butter-the rich, velvety texture, the natural sweetness, and the wholesome goodness packed into every creamy spoonful. Unlike store-bought versions, crafting your own almond butter allows you to control the ingredients, tailor the flavor, and embark on a hands-on kitchen adventure that transforms simple nuts into a luxurious spread. Whether you’re a seasoned nut butter enthusiast or a curious beginner, this step-by-step guide will walk you through the art and science of making irresistibly smooth almond butter at home. Get ready to elevate your snack game and savor the pure taste of roasted almonds in every batch you create.
Crafting creamy almond butter begins long before the first whirr of your food processor-it starts with selecting the right almonds and perfecting every step of the process to unlock their luscious, velvety essence. This guide will inspire your culinary creativity while ensuring your homemade almond butter reaches peak flavor and creamy perfection.
Prep and Cook Time
- Planning: 5 minutes
- Roasting: 15-20 minutes
- Processing: 10 minutes
- Total Time: Approximately 30-35 minutes
Yield
Approximately 1 cup (240 ml) of rich, creamy almond butter
Difficulty Level
Medium – Ideal for those agreeable with a kitchen processor but new to nut butters
Ingredients
- 2 cups raw whole almonds (preferably organic, skin-on)
- 1/2 teaspoon fine sea salt (optional, adjusts flavor)
- 1 teaspoon neutral oil (such as avocado or grapeseed oil, optional for extra creaminess)
- 1 teaspoon pure maple syrup or honey (optional, for subtle sweetness)
Choosing the Perfect Almonds for Ultimate Creaminess
Start with raw, high-quality almonds-the cornerstone of buttery smoothness. Opting for organic almonds ensures a purer taste with no chemical residues,while whole,skin-on almonds contribute rich texture and depth. Freshness is critical, so smell and inspect your nuts for a clean, nutty scent and avoid any with off or rancid odors.
Mastering the Roasting Process to Enhance Flavor
Roasting is where almonds transform from mild nuts to deeply aromatic treasures. Spread the almonds evenly on a baking sheet and roast at 350°F (175°C) for 15-20 minutes,tossing halfway to brown uniformly. Roasting caramelizes the natural oils and sugars, producing a toasted fragrance and flavor that elevate your almond butter’s complexity. Watch closely-the shift from pale tan to golden brown signals perfection but avoid burning to keep bitterness at bay.
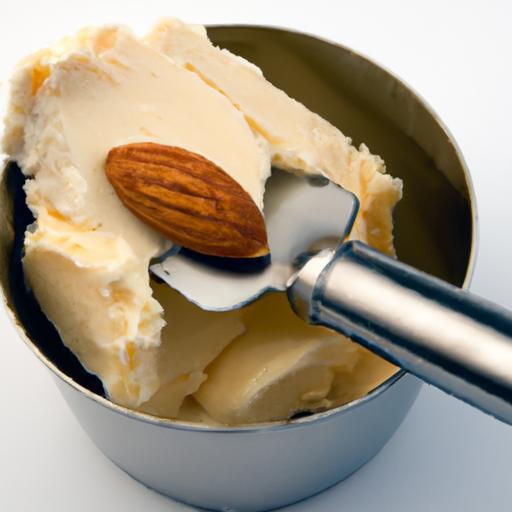
Secrets to Achieving Silky Smooth Almond Butter Texture
Once roasted and cooled, transfer your almonds to a powerful food processor. Begin pulsing patiently-the nuts will first become crumbly, then gradually release oils forming a coarse paste. Scrape down the sides frequently to promote even blending. This is where patience pays: blend for about 8-10 minutes until the mix transforms to glossy, luscious butter. If your processor strains, add small teaspoons of neutral oil to encourage creaminess without compromising purity. Salt enhances flavor, while a hint of maple syrup or honey balances earthiness with subtle sweetness.
Tips for Storing and Serving Your Homemade Almond Butter
Store your almond butter airtight in a glass jar to preserve freshness and prevent oxidation. Refrigeration extends shelf life up to a month while maintaining creaminess. For ease of use, stir the butter before each serving to reincorporate any natural oil separation. Serve it spread thick on toasted sourdough, dolloped atop oatmeal, or swirled into smoothies. Garnish with a sprinkle of sea salt flakes or a drizzle of honey for an inviting finish.
Step-by-Step Instructions
- Preheat your oven to 350°F (175°C). Line a baking sheet with parchment paper for easy clean-up.
- Spread 2 cups of raw almonds in a single layer on the sheet.
- Roast for 15-20 minutes, tossing every 7 minutes to ensure even browning. Look for a golden color and fragrant aroma.
- Remove almonds and allow to cool completely. This step prevents overheating your processor and developing off-flavors.
- Transfer cooled almonds to your food processor. Pulse to break nuts down into a coarse meal, then process continuously, scraping down the sides as needed.
- After about 8-10 minutes, the mixture will turn glossy and smooth. Add salt, oil, and sweetener (if using) at this stage, then blend 1-2 minutes more to combine.
- Taste and adjust seasoning, balancing salt and sweetness as preferred.
- Spoon your almond butter into a clean jar. Seal and refrigerate once cooled.
Chef’s Notes
- Alternative nuts: Try this method with cashews or hazelnuts to experiment with different flavors and textures.
- Oil-free option: Let the almonds’ natural oils guide you; only add extra oil if your processor struggles to achieve creaminess.
- Flavor variations: Add a pinch of cinnamon, a dash of vanilla extract, or even cocoa powder for delightful twists.
- Make-ahead tip: Homemade almond butter can be refrigerated or frozen for up to 3 months. Thaw gently and stir before serving.
- Troubleshooting: If your almond butter feels grainy, try extending the processing time-sometimes it just needs more patience!
Serving Suggestions
For an irresistible snack or breakfast boost, spread your creamy almond butter on warm, buttered toast and finish with a handful of fresh berries or sliced bananas. swirl it into a bowl of creamy yogurt topped with granola for delightful crunch and nutrition.A drizzle of honey and a sprinkle of flaky sea salt on top enhance contrast and bring out the almond’s natural sweetness, making every bite a feast for the senses.

| Nutrient | Per 2 Tbsp (32g) |
|---|---|
| Calories | 190 |
| Protein | 7g |
| carbohydrates | 6g |
| Fat | 16g |
Looking to expand your nut butter repertoire? Check out our extensive homemade cashew butter recipe for a tasty next project. For scientific insight into the health benefits of almonds, visit the Harvard T.H. Chan school of Public Health. Unlock the secret to luscious, creamy almond butter and savor every spoonful of your creation.
Q&A
Q&A: Crafting Creamy Almond Butter – A Step-by-Step Guide
Q1: Why make almond butter at home instead of buying it?
A1: Homemade almond butter brings the magic of fresh, nutrient-packed creaminess right into your kitchen! Unlike store-bought versions, you control every ingredient-no preservatives, no added sugars, just pure almond goodness. Plus, the aroma and taste of freshly ground almonds can’t be beaten.
Q2: What kind of almonds should I use for the creamiest almond butter?
A2: raw, whole almonds are your best friends here.You can choose either raw or dry-roasted almonds depending on whether you prefer a milder or slightly toasted flavor. Freshness is key-stale nuts yield a dull taste and gritty texture.
Q3: How important is roasting the almonds before making butter?
A3: Roasting transforms the humble almond into a flavor powerhouse. It releases oils and deepens the nutty notes, making your butter irresistibly fragrant and creamy. You can roast them lightly in the oven at 350°F (175°C) for about 10-12 minutes-but remember, roasting is optional if you want a raw butter vibe!
Q4: What kitchen tools do I need to make almond butter?
A4: A high-speed food processor or a powerful blender is essential-it’s the engine behind smooth almond butter. A sturdy spatula for scraping the sides and an airtight jar for storage complete the setup.
Q5: How long does it take to get that perfect creamy texture?
A5: Patience rewards you here! Initially, almonds turn into coarse crumbs, then a sandy paste. After about 10-15 minutes of processing (with occasional pauses to scrape and rest your machine), the oils release, and creaminess emerges like magic.
Q6: Can I add anything extra to enhance my almond butter?
A6: Absolutely! A pinch of sea salt can elevate the flavor. For a touch of sweetness, a drizzle of honey or maple syrup works wonders. Feeling adventurous? Try blending in cinnamon, vanilla extract, or even a hint of chili for a spicy kick.
Q7: How should I store my homemade almond butter?
A7: Store it in an airtight container in the fridge to maintain freshness and prevent oil separation. It generally stays good for up to 3 weeks-though it’s unlikely to last that long once you’ve tasted its creamy allure!
Q8: What are some creative ways to enjoy my almond butter?
A8: Spread it on toast or pancakes, stir it into oatmeal, blend it into smoothies, or use it as a dip for apples and celery. Even swirl it into sauces or bake it into cookies for a rich, nutty surprise.
Q9: Is homemade almond butter healthier than store-bought?
A9: Usually, yes! When you craft your own, you skip added sugars, unhealthy oils, and preservatives. This means you’re savoring almonds in their purest form-packed with protein, healthy fats, fiber, vitamins, and minerals.
Q10: Any tips for troubleshooting grainy or oily almond butter?
A10: If it’s grainy, keep processing longer to coax out those oils. If it seems oily, stirring thoroughly can re-incorporate the oils. Remember, almond butter’s texture can vary with almond freshness and processing time, so a little experimentation helps craft your ideal batch.
With these Q&A insights, your journey to creamy almond butter bliss is perfectly paved. Ready, set, blend!
The Way Forward
With a little patience and the right technique, crafting creamy almond butter at home transforms from a simple kitchen task into a rewarding culinary adventure. Now that you’ve mastered each step-from selecting the finest almonds to achieving that perfect, velvety texture-you hold the key to endless flavor possibilities. Whether spread on toast,stirred into smoothies,or swirled into baked goods,your homemade almond butter brings wholesome goodness and comforting richness to every bite. So grab your food processor, embrace the process, and enjoy the delicious fruits of your labor-because the creamiest almond butter is the one made with your own hands.